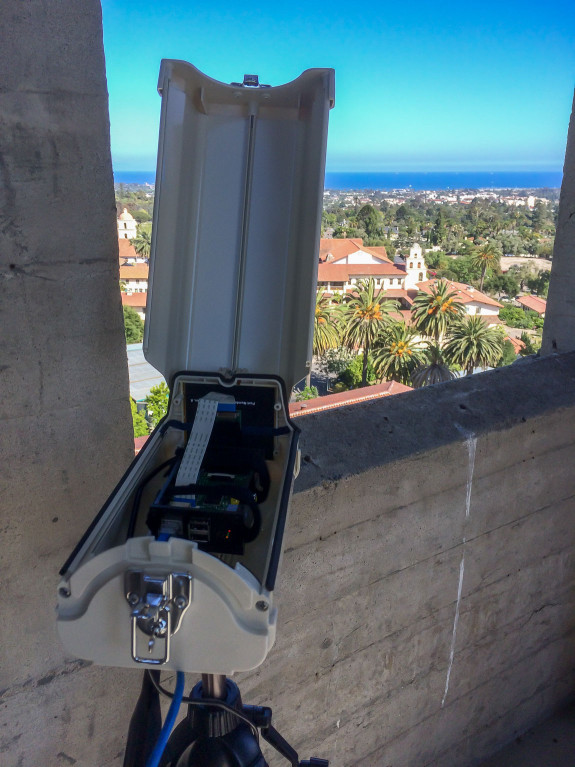
Looking northwest

Looking east-northeast

Update 1/6/16: ENE camera is now back up after getting knocked out during yesterday’s storm. NW cam is offline and just headed down to sick bay to get looked at after this morning’s thunderstorm knocked it out.
Camera fields of view (Goolge Earth KMZ file)
[Update 10/29/15: We’ve repositioned our camera overlooking the Mission to point toward Montecito Peak in order to monitor a brush fire that broke out in the morning. Thoughts and best wishes to our brave fire fighters and residents near the fire.]
Last summer we installed a weather station on our field to help our younger students learn about weather. We also want to offer our older students another meaningful way to understand data collection, analysis, and mathematics.
This summer, we’re installing Raspberry Pi weather cameras in our campus’s tower. Besides the “cool” factor of being able to remotely view weather in real time (from a beautiful viewpoint), weather cameras also enable our students to explore the concept of correlation. By comparing visual data from the cameras with numerical weather data from our station, students can better grasp the differences between correlation and causation. Given the tremendous amount of studies, reports, and statistics cited by the media, scientists, and elected officials, it’s vital to give students the power to better understand everything they see, hear, and read.
Our first camera looks southeast over Old Mission Santa Barbara. Downtown Santa Barbara and the harbor can be seen in the far distance. Later this summer, we’ll install more cameras in the tower aimed north at the mountains. Watch Garden Street Academy’s YouTube channel for time-lapse video of the most interesting weather events.
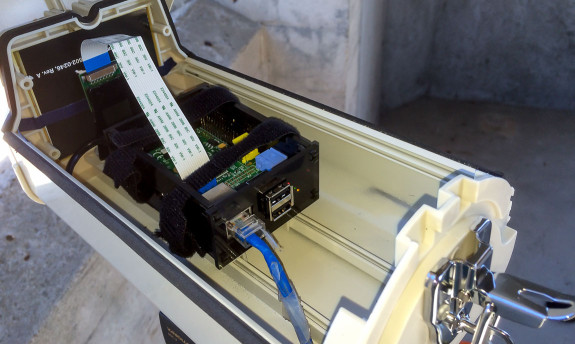
Raspberry Pi weather cameras are relatively inexpensive to build. Here’s a partial supply list for our cameras:
- Raspberry Pi Model B 756-8308 Motherboard (newer/cheaper models available)
- Raspberry PI 5MP Camera Board Module
- SanDisk Ultra 16GB SDHC Class 10/UHS-1 Flash Memory Card (newer/cheaper cards available)
- 5V 1A (1000mA) USB port power supply
- USB cable – A/MicroB – 3ft
- Wifi With Antenna For Raspberry Pi (if not using ethernet cable)
- 11″ Outdoor Back Open Camera Housing
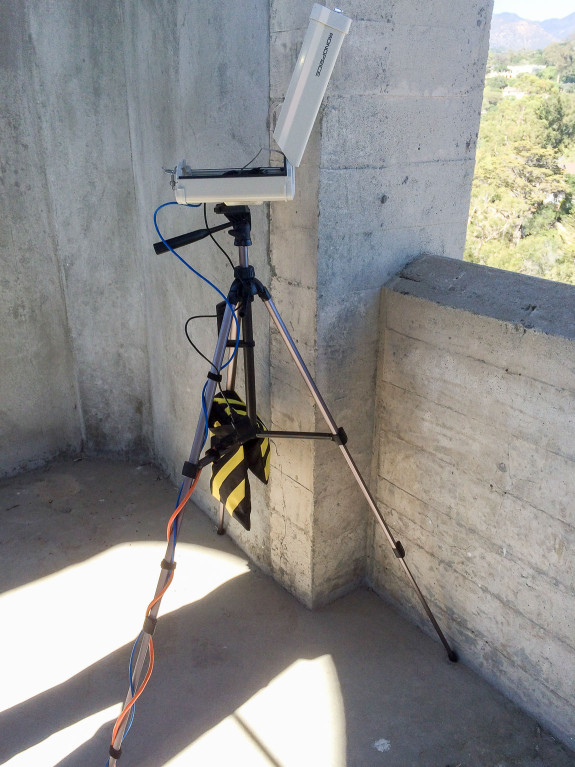
- 10″ Wall Mount Bracket for Camera Housing (or you can use a camera tripod)
Besides being relatively inexpensive, Pi cams are a great way to start learning to program computers. There’s a huge community of helpful Raspberry Pi users. Adafruit also has some great tutorials for learning the basics of using Raspberry Pi computers. And here’s an Instructables tutorial that inspired our weather cameras.
Here are some photos of the camera in the tower.


